

DI PLASTIC SURGERY
DI Revision Rhinoplasty
Revision rhinoplasty requires even greater care
Revision may be considered for dissatisfaction after the initial surgery or implant problems such as tissue changes, inflammation, or contracture.
Accurately identifying the causes of failure and planning surgery for the nose's current condition is essential.
Revision rhinoplasty requires substantial clinical experience and expertise.
At DI Plastic Surgery, Chief Director Jung Yun Ik has extensive experience with revision rhinoplasty, and oversees the entire process, from consultation and surgery to follow-up.
Surgery information
- Surgery duration
- 2 hours
- Anesthesia
- Sedation / general anesthesia
- Hospital admission
- Not usually required
- Recovery period
- Varies by individual
- Suture removal
- Required
- Follow-up visits
- 2–3 visits
Bleeding, infection, inflammation, bruising, swelling and pain may occur. Satisfaction and outcomes vary between individuals.
A considered approach to revision
Medicine cannot promise absolute perfection. Director JUNG YUN IK focuses on understanding the causes of the previous outcome, reducing uncertainty and complications, and planning care for each patient.
Assessment and timing
3D CT helps assess nasal bone, cartilage and the internal lining. Elective revision is often considered 6–12 months after the previous operation, depending on healing and the individual. Inflammation or an implant coming through the skin needs prompt clinical assessment, regardless of this interval.
Autologous materials for revision
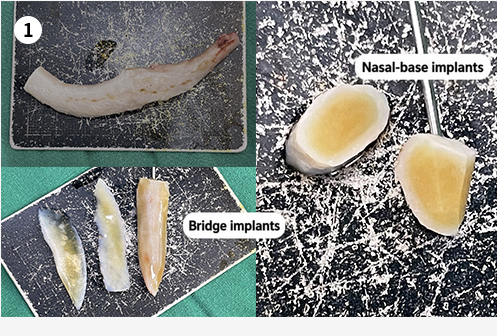
Rib cartilage offers a substantial amount of strong supporting tissue for structural reconstruction. The availability of septal cartilage depends on what remains after earlier surgery. Autologous dermis may be considered when skin or soft tissue is thin or deficient.
Reasons to assess revision rhinoplasty
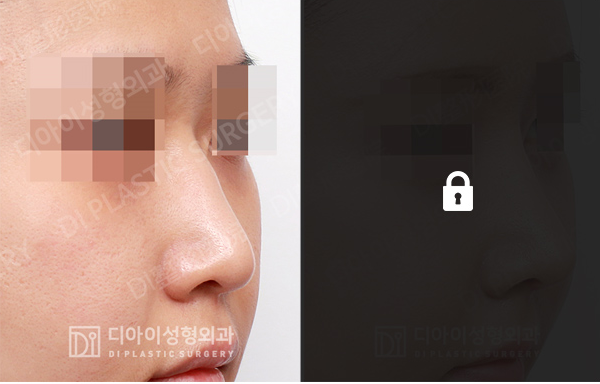
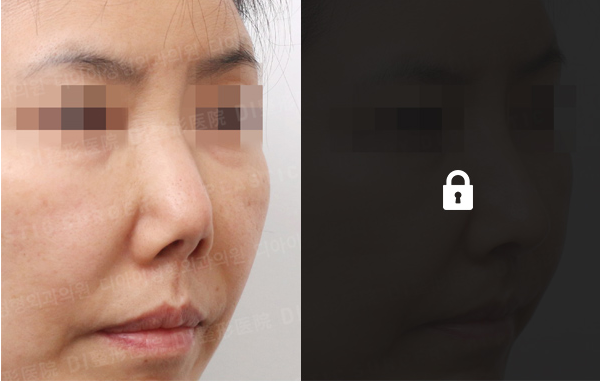
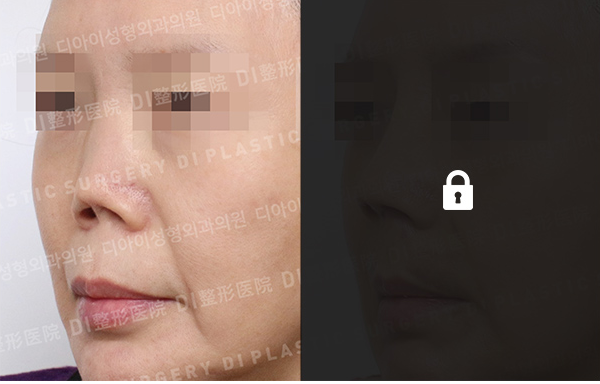
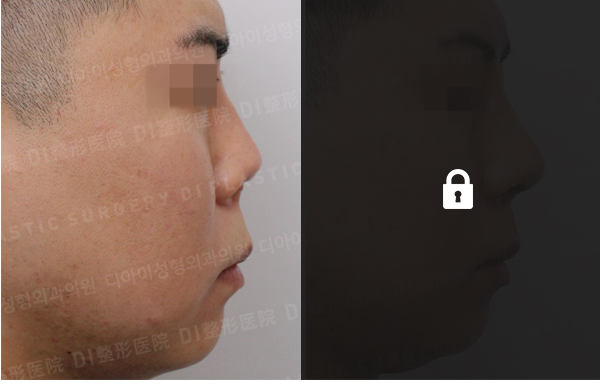
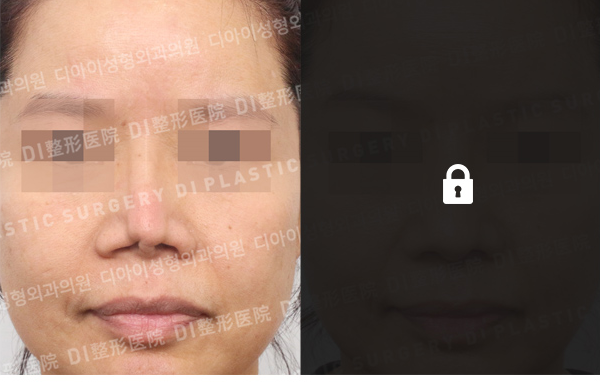
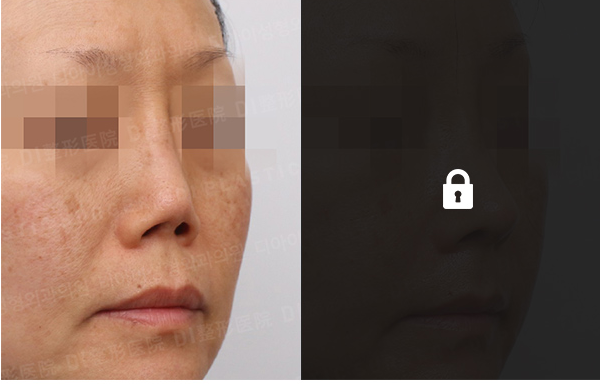
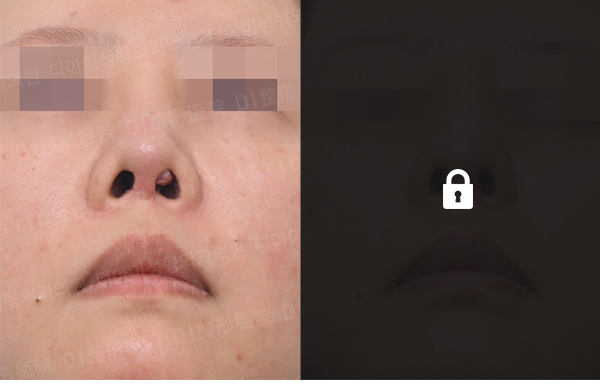
Original DI case discussions
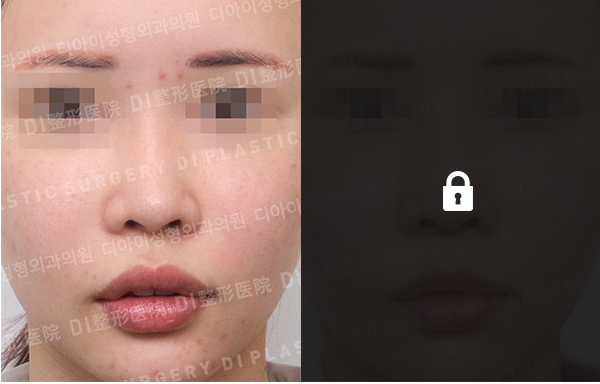
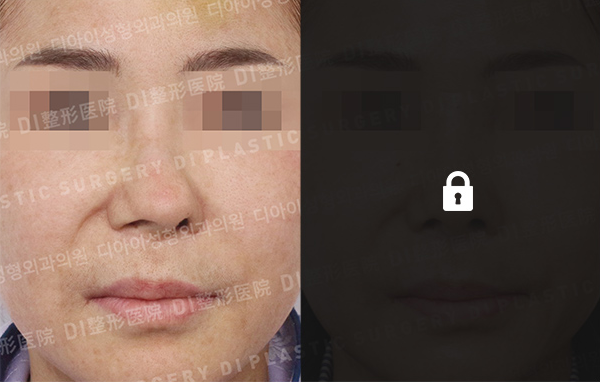
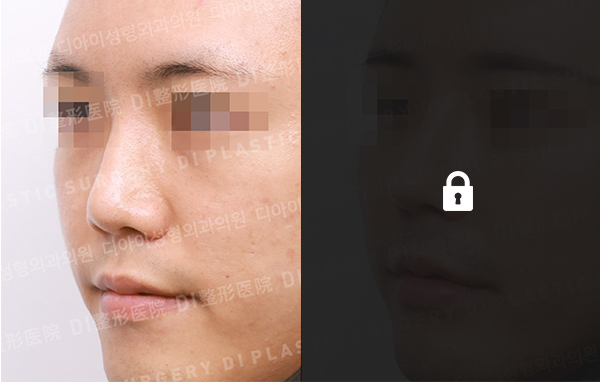
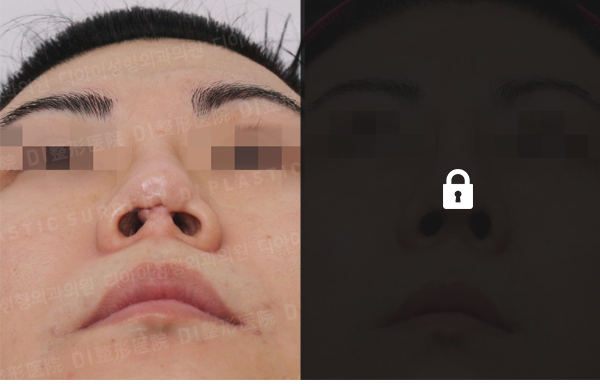
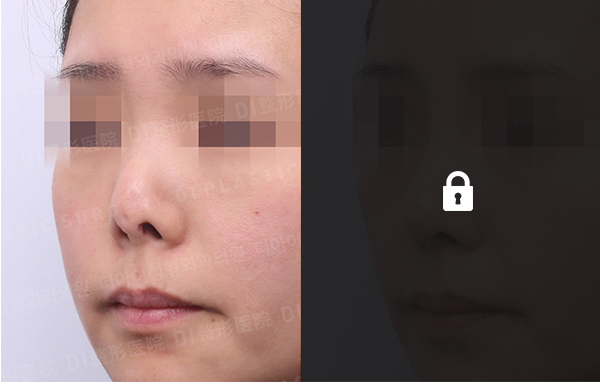
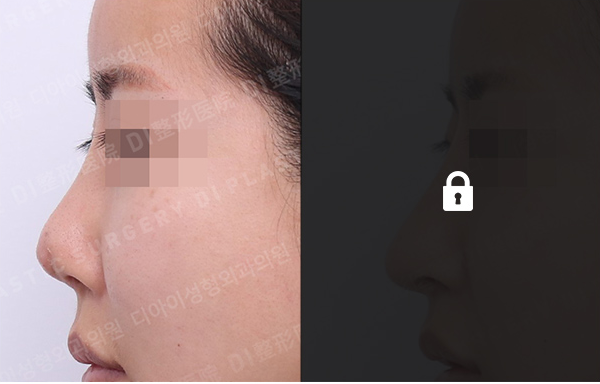
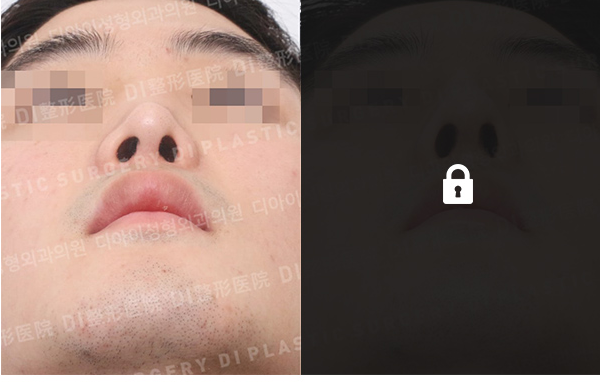
Original clinic photographs are retained, including their masks and restricted comparison images. These are individual cases, not a prediction of your result.
Severe inflammation and skin deformation
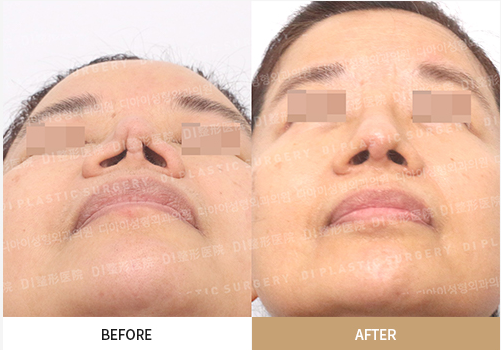
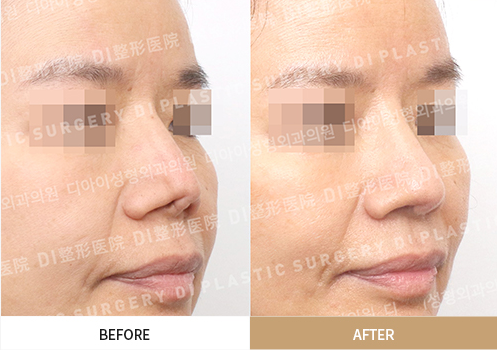
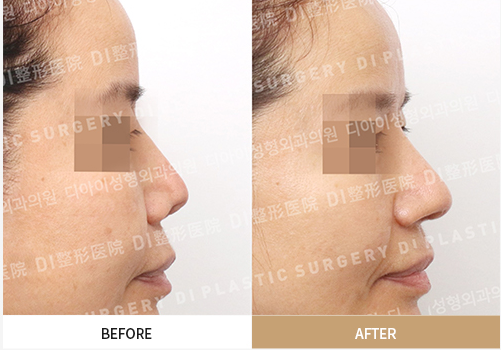
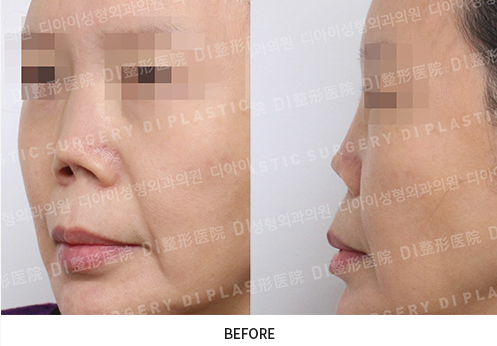
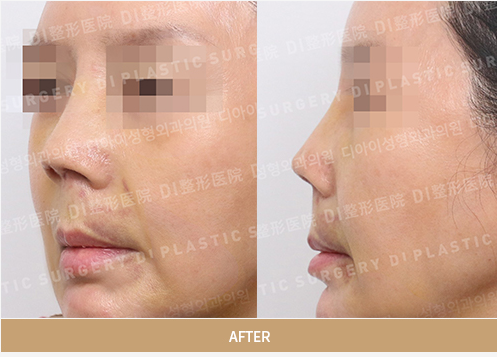
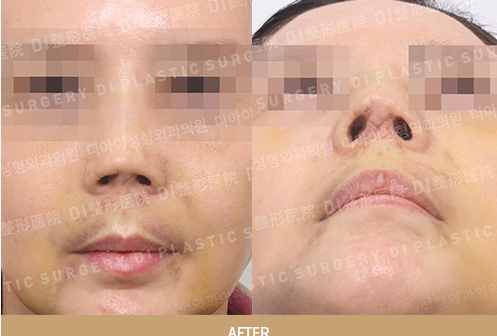
The original case involved extensive inflammation, scarred skin, narrowed nostrils and loss of nasal support. Autologous rib cartilage was used to reconstruct the tip, alar and supporting structures; bridge and soft-tissue treatment were planned together. The front, base, three-quarter and profile views illustrate different structural concerns. Skin scarring and limited blood supply constrain how much projection can safely be achieved; excessive tension can damage the skin.
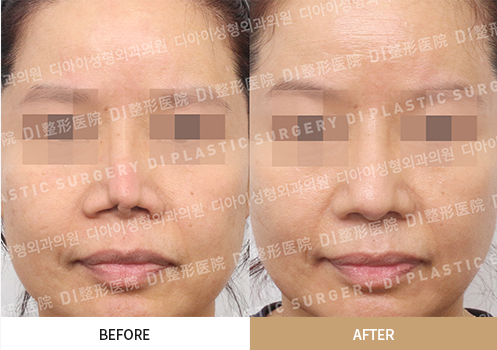
Revision after four previous operations
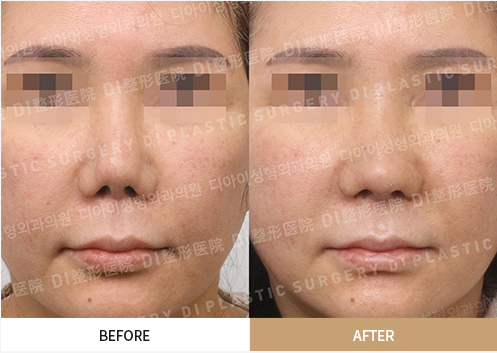
Four earlier procedures and excessive alar reduction had left insufficient skin around the nostrils, with deformity of the tip and base. Simply raising the tip could further distort the nostrils. The clinic describes nasal-base elevation, support reconstruction and coordinated adjustment of the bridge and tip. The views show why base position, nostril exposure and profile balance must be considered together.
Revision following a donor-rib graft
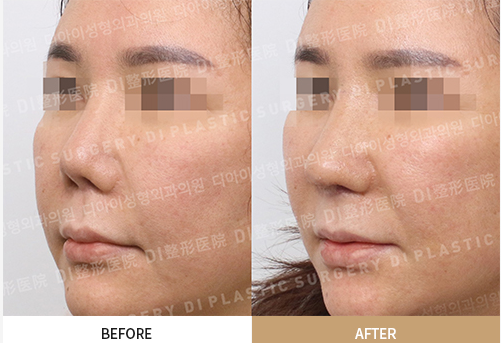
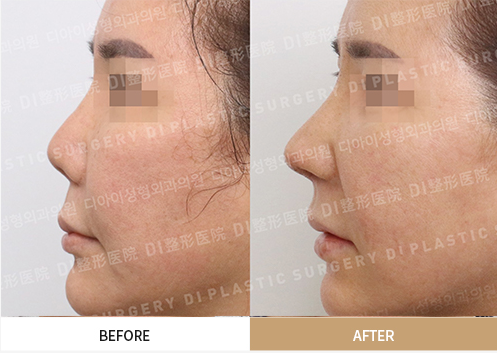
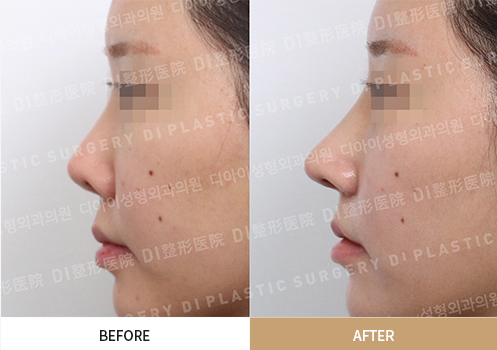
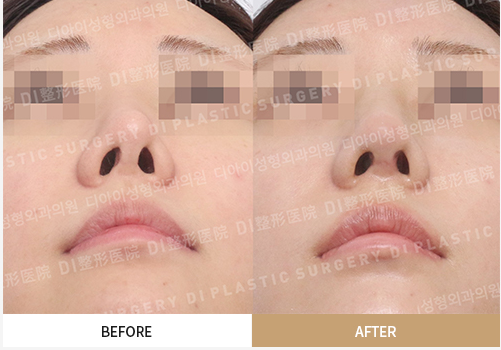
The previous donor-rib support had collapsed and deviated under tissue tension. Revision addressed the bridge and tip position and nostril asymmetry. Paranasal augmentation was also used for recessed areas around the nasal base. With facial asymmetry, the nasal axis must be considered in relation to the individual facial midline, rather than an isolated vertical line.
Contracture after seven operations
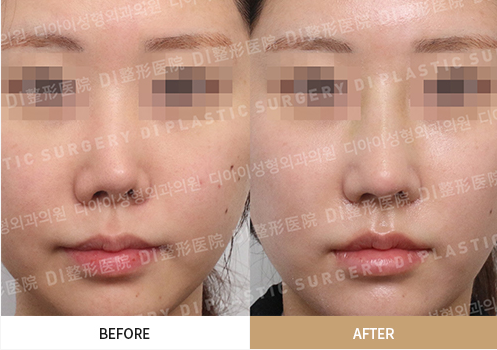
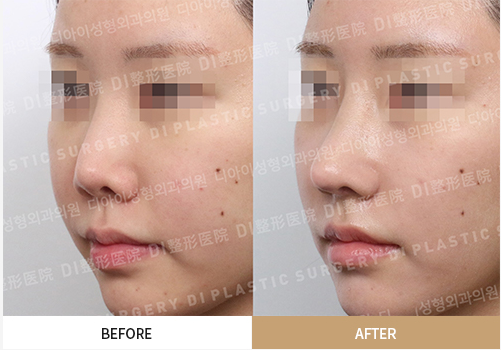
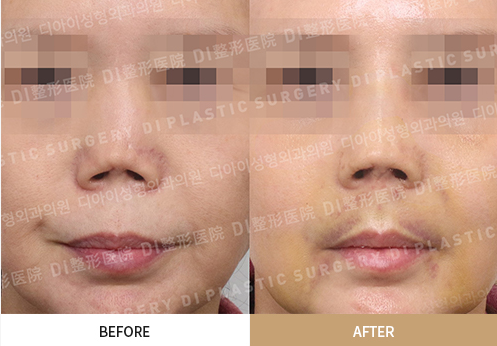
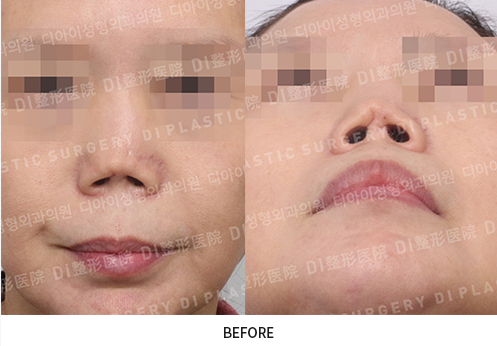
After seven operations using several different materials, progressive contracture and scarring had left very limited skin, a depressed nasal base and collapsed support. The clinic describes extensive release of adhesions, nasal-base augmentation, and individually shaped autologous rib and soft-tissue grafts. Only the necessary amount of rib was harvested. Early photographs illustrate reconstruction rather than a final long-term result. Skin shortage limited a natural bridge–tip–columella curve; a staged approach with follow-up and possible further refinement was discussed.
Rhinoplasty aftercare
Follow your surgical team’s individual instructions. Recovery and follow-up schedules vary.
- 01
Incision care
Keep the surgical area dry and clean until stitches are removed. On the day of removal, wash gently with water; use soap from the following day.
- 02
Nasal discharge
A little bleeding or blood-tinged discharge may occur for 3–4 days. Do not blow your nose; gently wipe away discharge.
- 03
Tape and splint
Tape helps maintain implant position and limit blood pooling. The splint protects against impact. If it comes off, do not reattach it yourself; contact the clinic and protect your nose.
- 04
Cold and warm compresses
Use cold compresses for the first 3 days, then warm compresses from day 4, as instructed by your surgical team.
- 05
Swelling and bruising
Swelling and bruising generally take about 2 weeks to settle. Swelling may temporarily make the nose look uneven, tilted or depressed.
- 06
Glasses
Avoid glasses and sunglasses for at least one month to prevent pressure that could affect the nasal shape.
- 07
Protect your nose
Do not blow your nose forcefully or do activities that strain or put pressure on your nose.
- 08
Ear cartilage donor site
If cartilage was taken from your ear, avoid pulling or pressing the ear firmly.
- 09
Recovery habits
Avoid alcohol and smoking for one month. Avoid strenuous exercise and excessive stress, which can interfere with recovery.